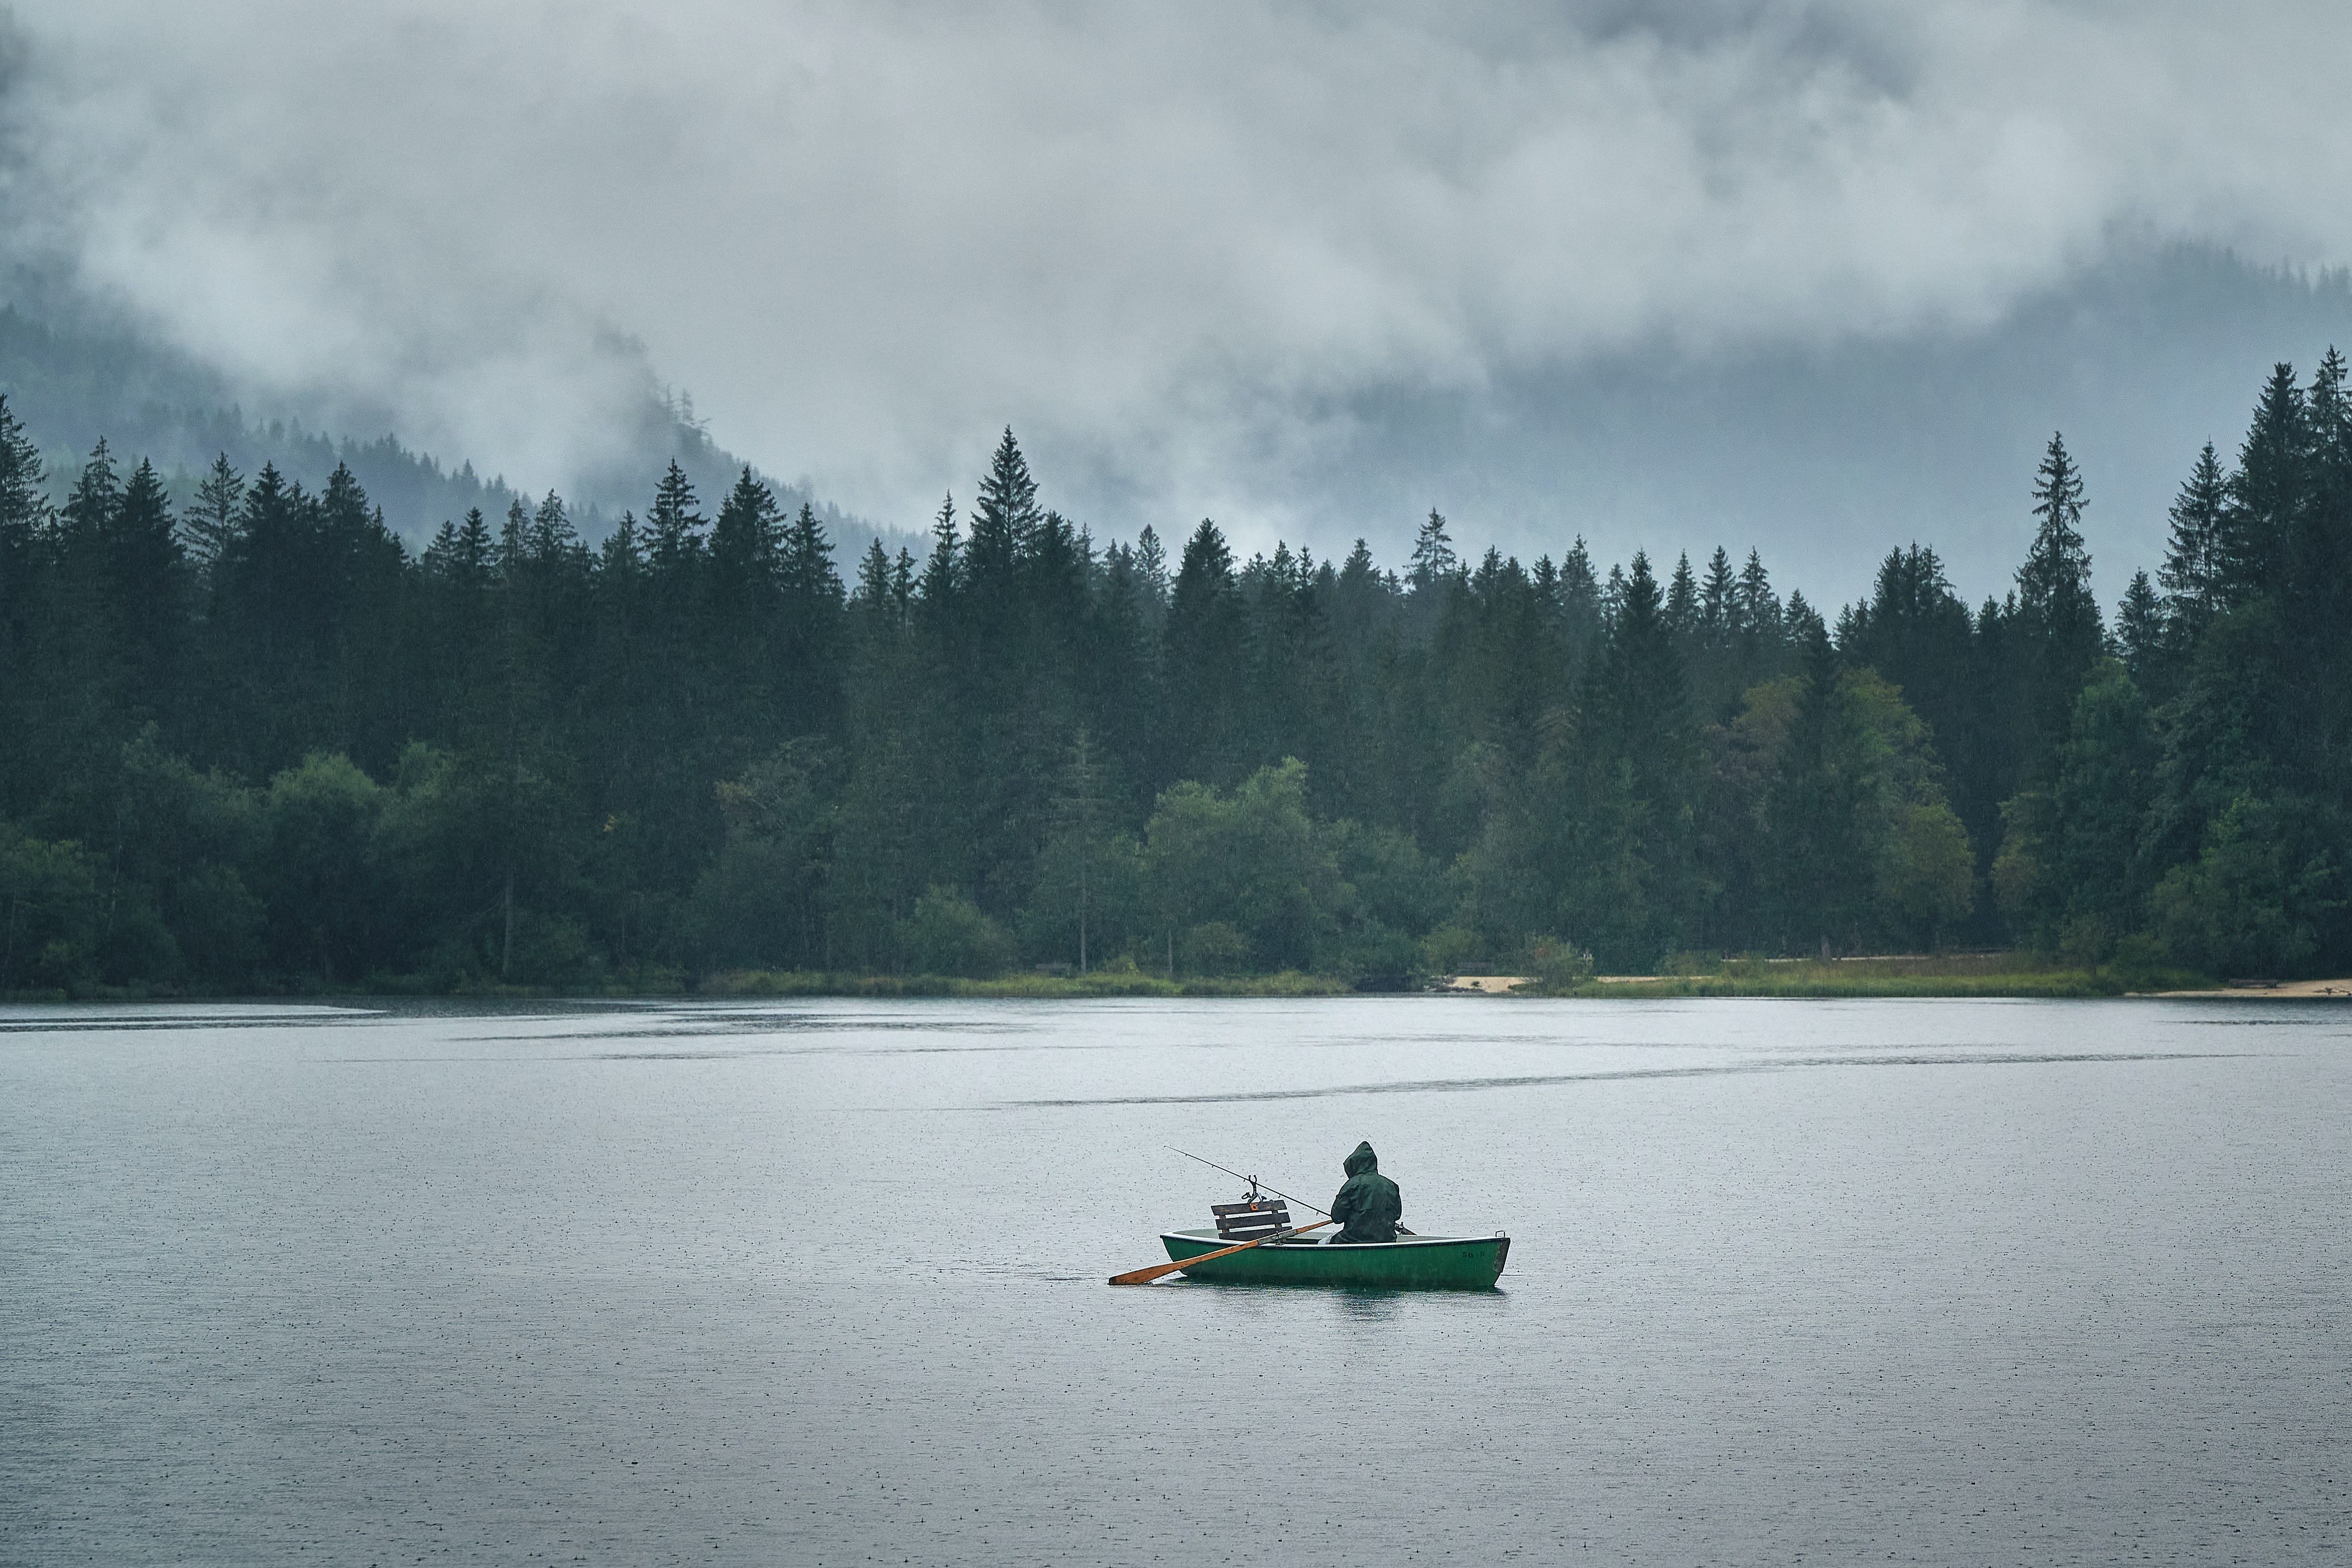
You can achieve many styles in photography, but the dark and moody look is perhaps one of the most popular. Several famous creators have adopted the style for their images, inspiring numerous hobbyists to follow in their footsteps.
Achieving dark and moody photography might seem challenging, but it doesn’t have to be. You can get closer to your preferred results in several ways, and this article will show you some of the best.
1. Underexpose the Shot on Your Camera
To achieve a dark and moody photography style, you should begin with the image itself. While it’s generally a good idea to stay as close to 0 on your light meter as possible, that isn’t a universal rule for every type of picture.
By nature, dark and moody photos are less exposed than ordinary ones. As a result, you’ll want to slightly underexpose the pictures you take on your camera.
When underexposing your photos, try not to go too far. Otherwise, you’ll add unwanted grain and lose important details. Somewhere between 0 and -1 on your lighting meter is good enough.
You can also learn more about the exposure triangle to know how to underexpose the shot while taking it.
2. Use a Colder White Balance
When you look at moody photos, you’ll notice that they often do not feature warm hues. If you’ve found yourself on auto white balance so far, now is a good time to switch things up and take more control.
Go with a colder white balance if you’re trying to achieve a dark and moody photography style. The easiest way to do this is by adjusting the Kelvin meter in your camera; the lower the number, the colder your white balance will be.
Most modern cameras will have a Kelvin meter that you can adjust. You’ll typically need to go to the internal menus if you wish to change this feature. See more on how to get the perfect white balance.
3. Shoot on Overcast or Rainy Days
The lighting conditions at the time you shoot will play a significant role in how your images look. And while it isn’t impossible to create dark and moody photos on a sunny day, doing so will be a little hard.
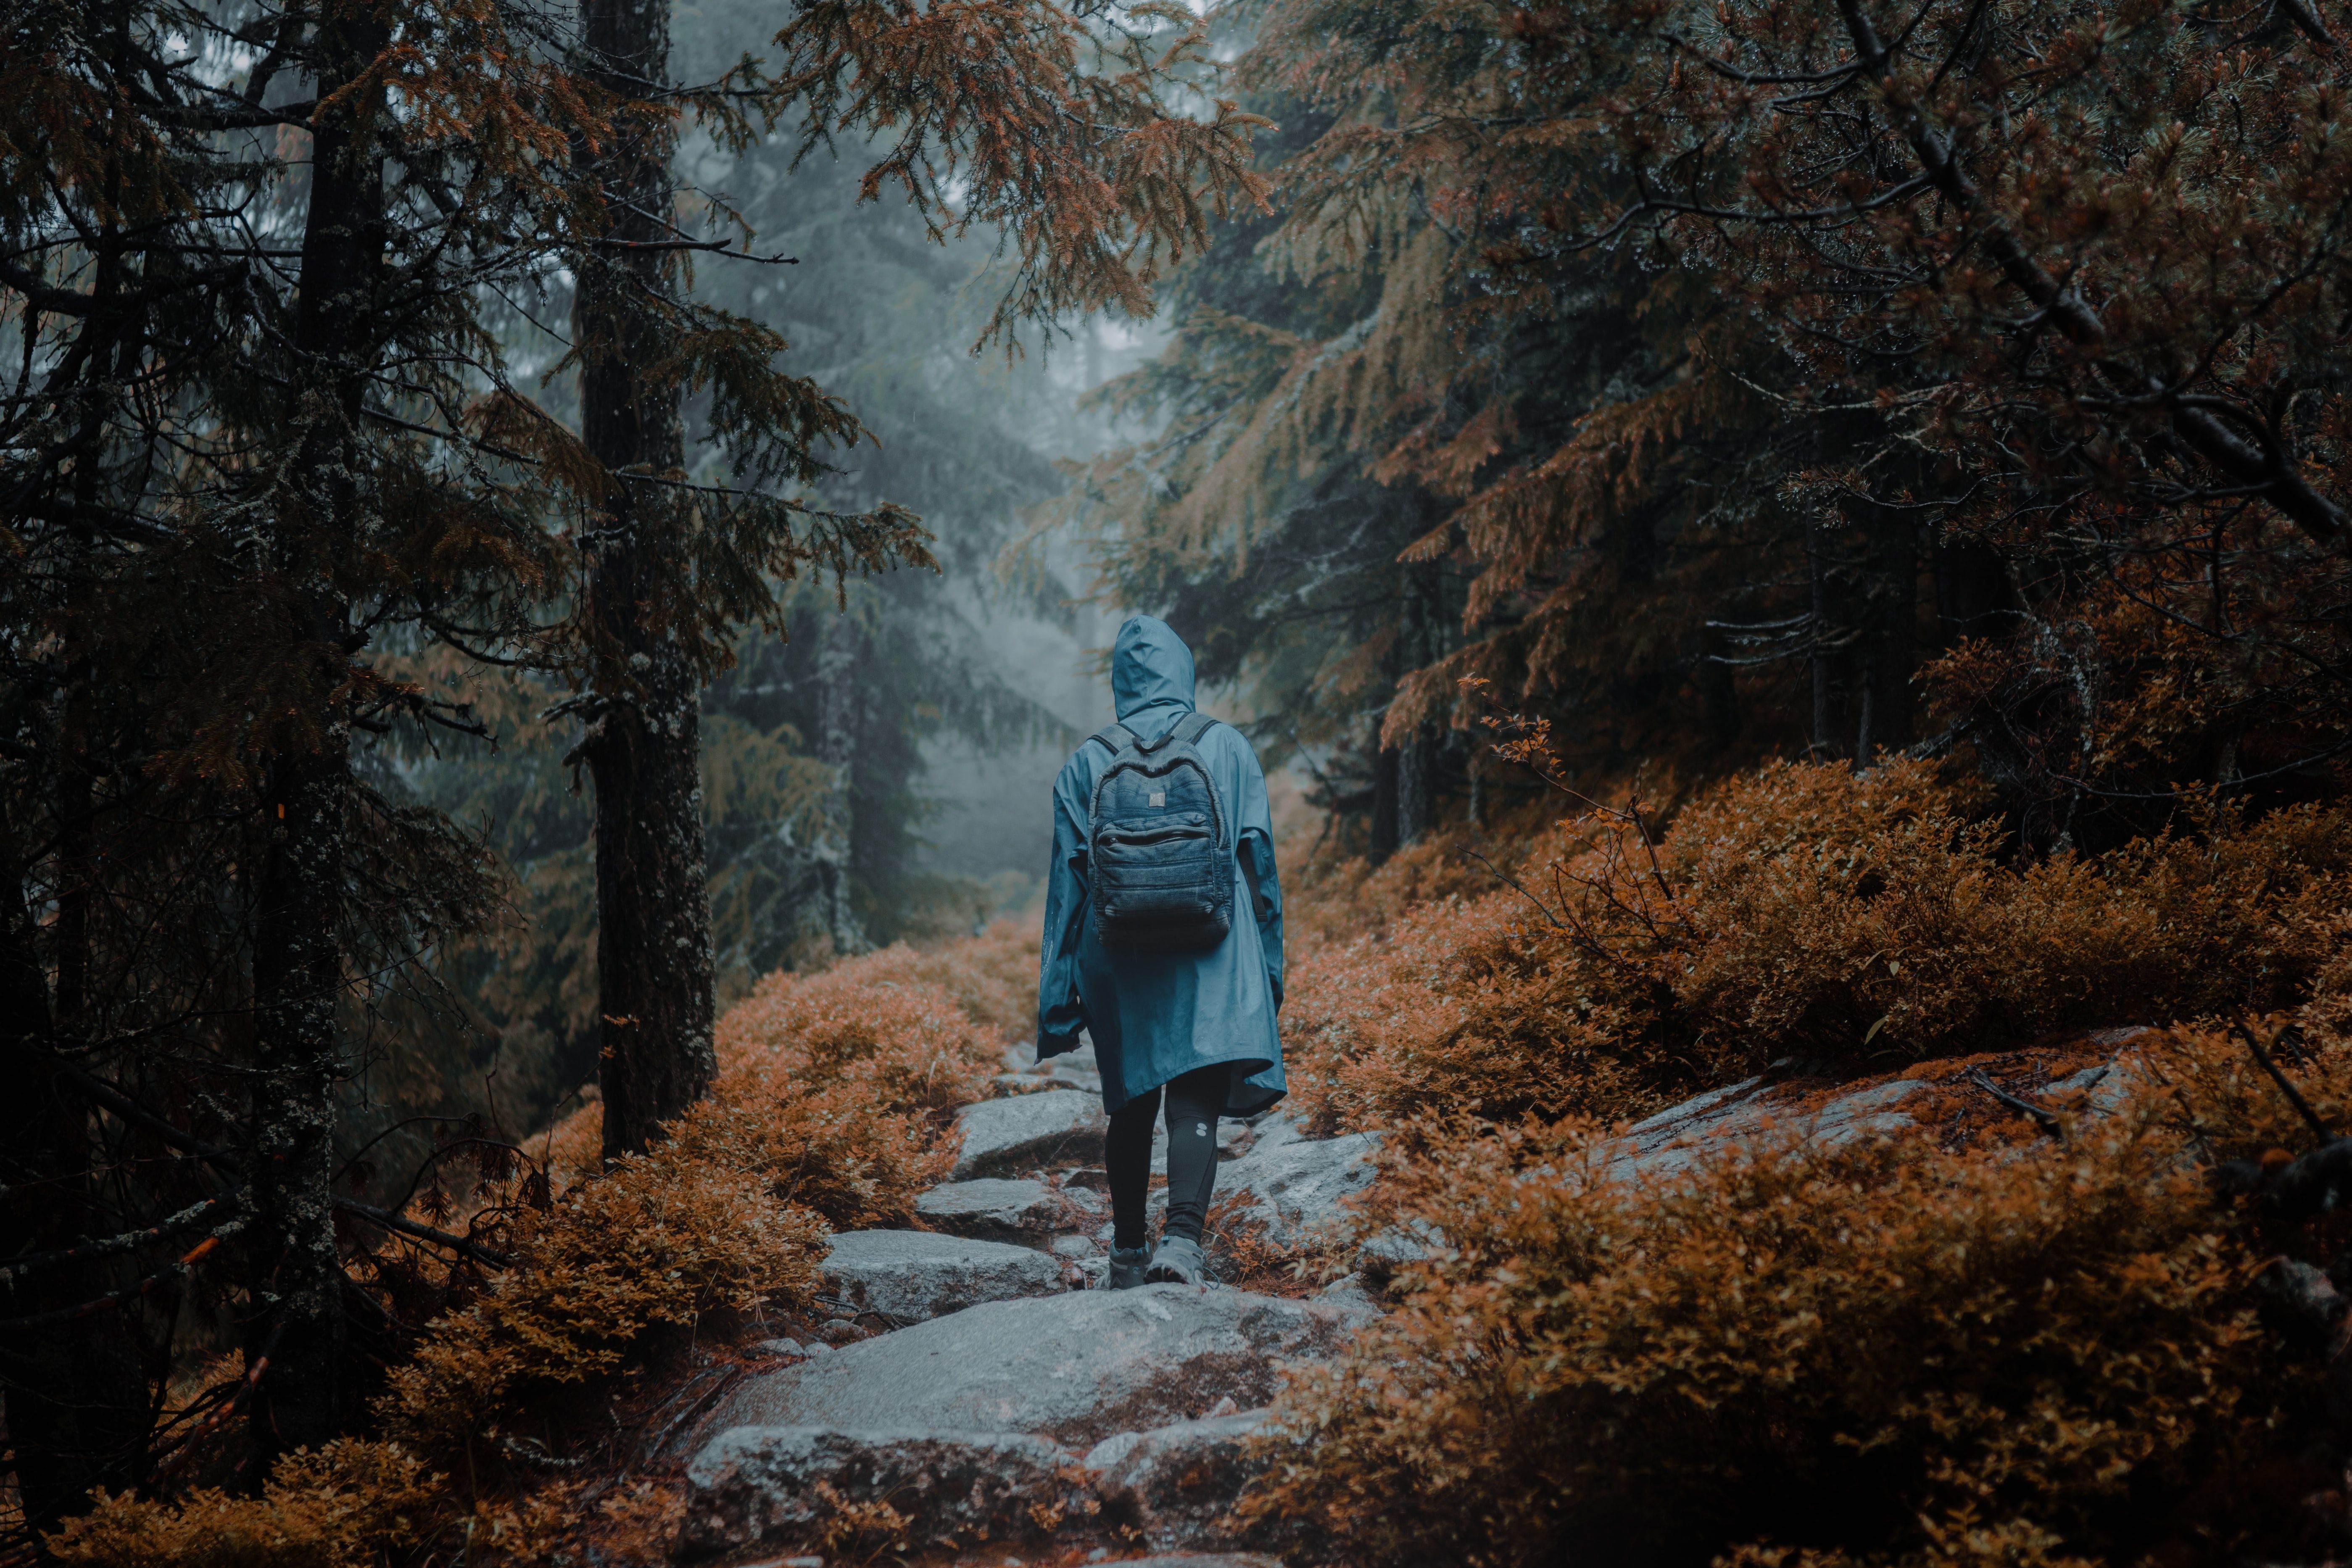
When you look at most moody photos, you’ll notice that the photographer took them on overcast or rainy days—moody weather does make for moody photos, after all. You should consider doing likewise; you can use the ominous clouds as an extra feature in your picture.
When photographing on rainy days, make sure you protect your camera equipment. Ideally, you’ll have a weather-sealed camera and lens. If you don’t have these, consider purchasing a cover for your camera.
4. Desaturate the Images
Many moody photos do not feature a lot of colors. As such, you should adopt a similar approach when trying to achieve a dark or moody style.
You can desaturate your pictures within your camera by adjusting the image settings. The process will differ depending on your manufacturer, but generally speaking, you’ll need to go to the photo-specific option within your menu.
In addition to desaturating your photos on your camera, you can do the same with image editing software. Lightroom and Capture One both let you do this easily, as does Photoshop.
5. Increase the Contrast
Another common feature in dark and moody images is that they have high levels of contrast. Again, you can do this in the camera; you’ll typically find these settings in the same place as you would for saturation.
But, like desaturation, you can also adjust your contrast in post-production software. You will find options to do this on most of the major platforms; Lightroom and Photoshop Express for mobile also have similar features.
6. Reduce the Exposure in Lightroom
In addition to underexposing your photos within your camera, you can also reduce the exposure for each image in Lightroom. Doing so is as simple as moving the Exposure slider to the left if you want to make basic adjustments.
You can also play with the Tone Curve tool if you want to lower the exposure in specific parts of your photo. Once you’ve found a formula that works, you can create presets to simplify your workflow for future dark and moody images.
7. Think of a Storyline Beforehand
Like all other forms of photography, achieving a dark and moody style is easier if you improve your storytelling. Sure, you can take pictures that are nice to look at—but people are more likely to remember your images if they have a story behind them.
Before you go out to take photos, think about the weather conditions that day. You should also spend a bit of time taking in your surroundings before capturing your shots to get a feel for the atmosphere.
Once you’ve got a better idea of the story you’d like to tell, experiment with your images and find out which methods work best for you.
8. Shoot in the Fog
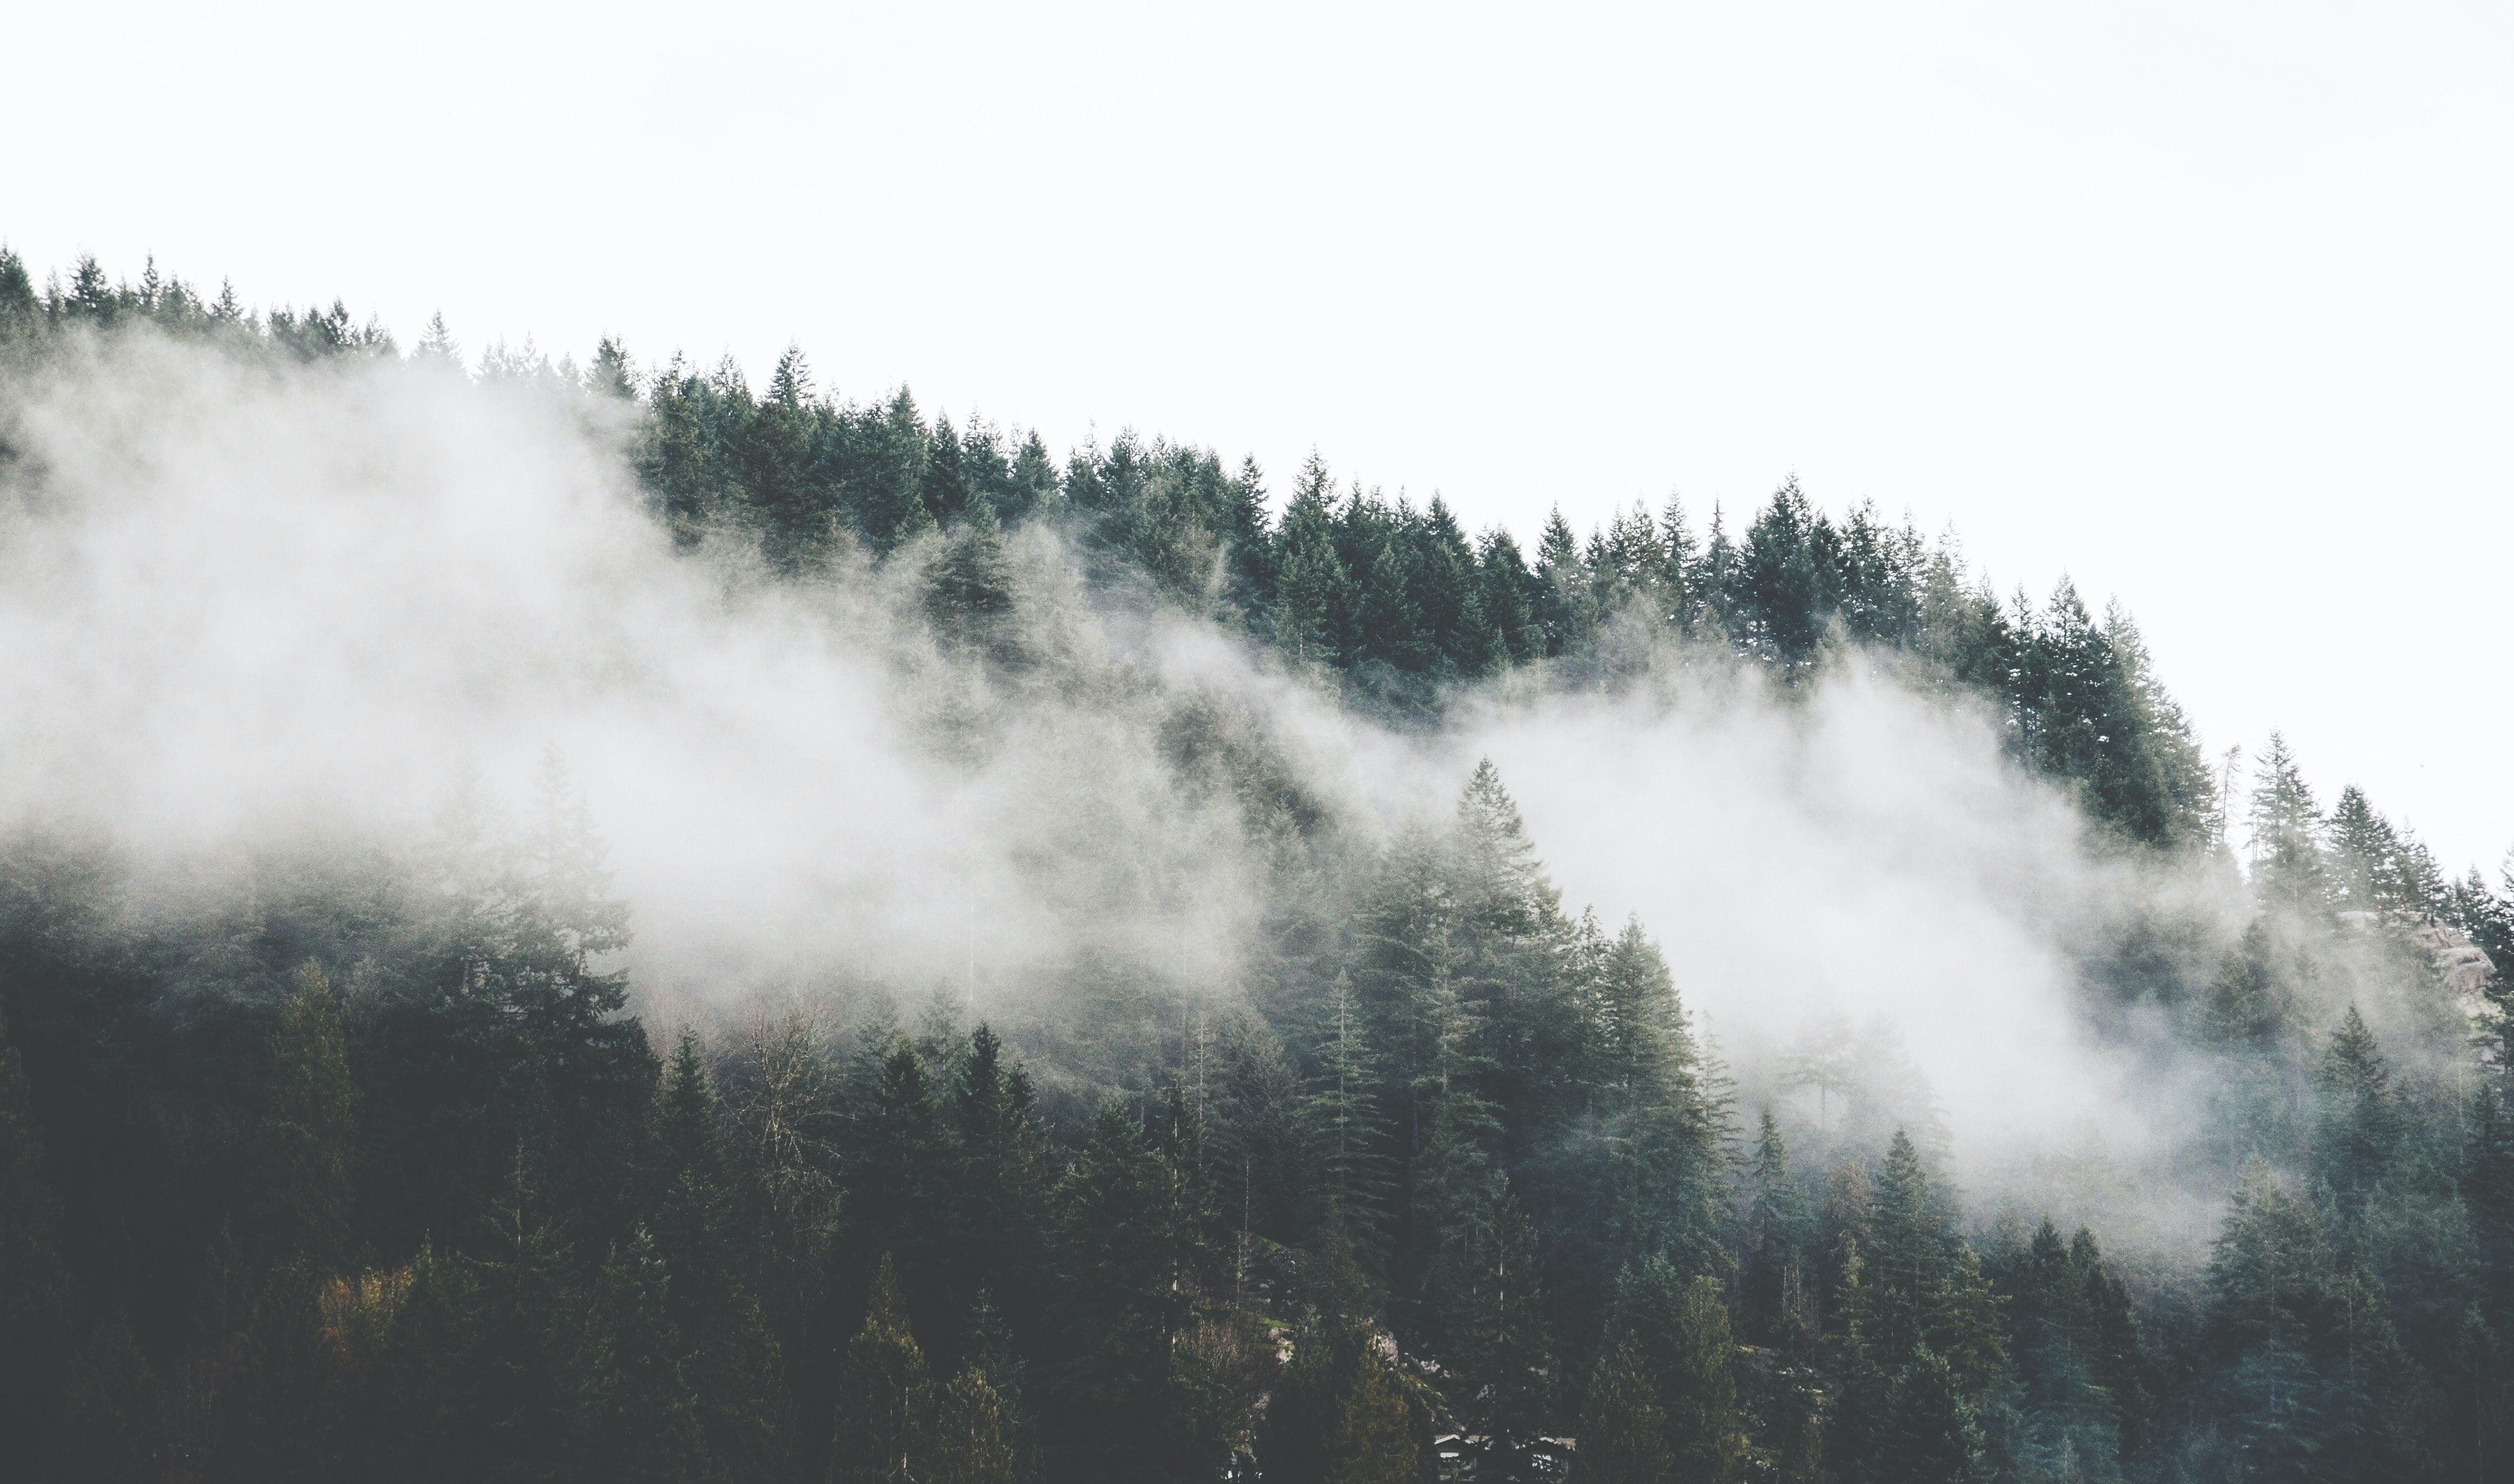
If you want to create unique moody images, taking photos when the clouds are low is an excellent starting point. Foggy days tend to have more of a melancholic feel to them, making them perfect for capturing the emotions you’re trying to convey in your pictures.
Of course, finding a foggy day will depend significantly on where you live. If you live in the US, you may find it easier to catch a foggy day in a city like San Francisco. You’ll also need to be an early riser; in most cases, that’s the best time to catch fog.
9. Choose Just One Subject
Not picking lots of subjects is a good rule of thumb when taking photos in any scenario. But if you’re trying to achieve a dark and moody style, you may wish to stick with just one.
Choosing just one subject will create a feeling of isolation. On top of that, you’ll be able to use your foreground and background to get a better sense of scale.
Examples of subjects you can pick as your main include a person, a boat, or a wildlife animal.
Be Dramatic With Dark and Moody Shots
Achieving a dark and moody photography style isn’t easy, but it is simpler than you might think. You can use several strategies to do so, with plenty of options for using your camera—but you can also do the bulk of it in post-production software.
Generally speaking, you’ll want to focus on colder colors and pick a smaller selection for each image. On top of that, you should consider removing saturation from many parts of your photos. Choosing unusual weather and lighting conditions will also help.
