With the release of the iPhone 14 Pro, plenty of new photography tips are available for taking better photos in 2023. While Apple has led the way in smartphone technology for some time, there are countless hidden features yet to be discovered by many iPhone users who want to take their photography skills to the next level.
Whether looking to adjust exposure, focus clearer, frame more symmetrical images, or utilize the camera grid to achieve a more striking composition, several helpful hacks and professional tips can dramatically increase the quality of everyone’s iPhone pictures in 2023, especially those who may have gotten a new iPhone for Christmas or the new year.
10 Activate Apple ProRAW To Maximize Data & Resolution
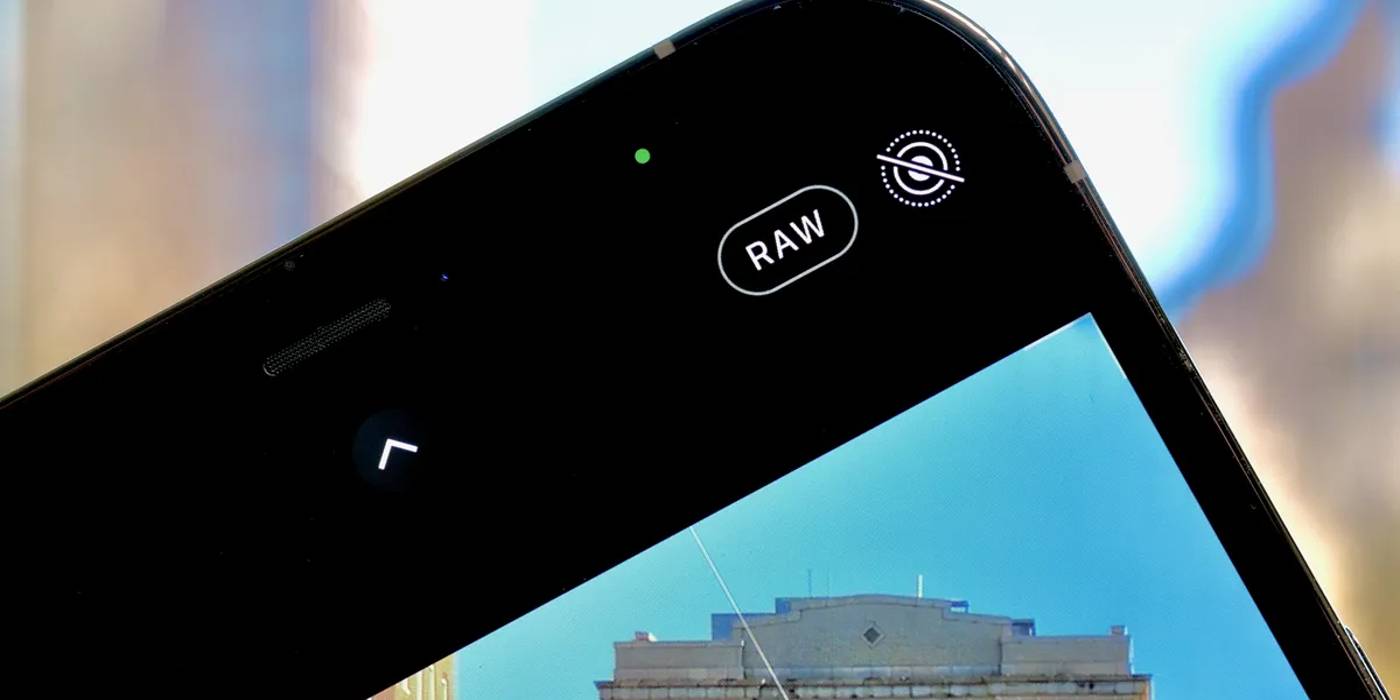
In photography parlance, more data means more information about the setting that is being captured. The more information, the more robust the image. A new iPhone 14 feature, pre-setting the camera to the Apple ProRAW format and selecting the 48-megapixel option will instantly configure the camera for professional quality photos.
ProRAW files carry unprocessed information from the sensor, which retains all the unfiltered data about the picture taken. The more data one has, the more flexibility they have when it comes time to balancing color, adjusting exposure, and tweaking other critical elements of the image in the editing process. Between the 48-megapixel clarity and increased data, pictures will look immaculate.
9 Swipe Up For More Creative Options

The more creative control an iPhone photographer has, the better the results. Yet, most iPhone users argue over taking directions from the downward arrow atop the camera app and often fail to realize much more options are available by swiping up on the viewfinder instead.
Once swiping up on the viewfinder, a host of creative options will appear, including iPhone’s stellar Night Mode, a timer, flash settings, aspect ratio options, and perhaps most importantly, a function called Photographic Styles, a setting that tailors the appearance of the photos based on the user’s tastes. While basic, it’s an incredibly helpful hack that gives users more creative freedom.
8 Use The Volume Button For A Shutter

For many, being able to capture candid moments on the spot is vital. However, rushing to catch the perfect image often leads to shaky camerawork and blurred imagery. Users can squeeze the volume button on the side of their phones to act as a shutter and take a picture, an extremely helpful hack that not many iPhone users know about.
Incredibly helpful for magical selfies, which require the difficulty of tapping the screen with outstretched arms, using the volume button as a shutter also stabilizes the image much better and eliminates the shakiness and blurriness. It’s also great for taking clear pictures when the screen is wet, which often freezes the interface.
7 Turn On Camera Grid For Improved Composition

For creating the most striking compositions, photographers rely on the “Rule of Thirds,” which suggests placing the subject in the left or right third of a frame and allowing negative space in the rest (via Adobe). Every normal and hand-free iPhone photographer can achieve such by turning on their camera grid in the Settings menu.
By activating the camera grid, each image will be precisely divided nine ways by vertical and horizontal lines that will help photographers control the exact composition, straighten a shot, and find perfect symmetry. Every normal and hands-free iPhone photos look more professional using the grid lines after situating the subject accordingly.
6 Use Manual Override For Sharper Focus

Even after eliminating shakiness and achieving symmetrical compositions, there is no guarantee that an iPhone will autofocus properly and shoot a clear picture. One helpful tip that’s become more popular in 2023 is using the manual override function to focus on an image, improve the depth of field, and achieve perfect clarity.
Having the manual ability to precisely control the focal length and depth takes all the guesswork out of the picture and no longer makes a photographer reliant on the whims of the camera, ensuring that every brilliantly composed image won’t be sullied by an autofocus glitch ever again, giving photographers full authority over their work.
5 Stabilize Focus With AE/AF Lock

Once the autofocus function is overridden, iPhone photographers can reduce bumps by manually locking the Auto-Exposure/Autofocus (AE/AF Lock) function to stabilize the focal point indefinitely. To activate the AE/AF Lock function press and hold the highlighted focus area for roughly three seconds.
After locking the AE/AF functions, photographers have the total freedom and flexibility to move around with the camera’s manual focal point set, ensuring the utmost artistic control over each new image without unwanted graininess. The last thing a photographer wants is to have sudden movement interrupt the frame and readjust the autofocus function and ruin the composition right before taking a shot.
4 Adjust & Lock Exposure For Precise Lighting

Having the ability to micromanage light and darkness when using new iPhone camera features is the best way to achieve optimal results. By tapping the screen and sliding a finger up and down when a picture is open, users can adjust and lock the exposure to their exact liking.
Being able to permanently set the exposure rate as soon as it’s adjusted to an artist’s liking is very helpful for creating multi-picture photo spreads of subjects with no to low mobility, ensuring consistent visual quality throughout the process. Since light is the most important factor in taking the perfect picture, everyone iPhone user in 2023 should use the tip.
3 Blur The Background In Portrait Mode For Dramatic Effect

The best way to improve taking iPhone portraits is to manually add a soft faded background to create a dramatic blurring effect. By swiping left on the viewfinder and tap the improved “Portrait Mode,” users can manually add a soft faded background to the picture, making it look more professional and striking.
Adding this subtle artistic touch, viewers will focus more on the subject without being distracted by background imagery while also giving the image an enhanced aesthetic. Furthermore, Portrait Mode gives photographers the creative leeway to adjust the camera’s F-stop, and depth of field, and add a host of dazzling lighting effects to significantly improve the image quality.
2 Shooting Stills In Video Mode Is Great For Rapid Movement

It’s impossible for iPhone photographers to keep up with the speed of some subjects, be it children playing, a fireworks display, etc., which often leads to blurry images. To capture precise photos at high speeds, take still images in Video Mode by pressing the white button above the red recording button.
Beyond being able to capture high-quality stills in iPhone’s video mode, the hack is even more helpful because it can be used before or after videos are taken, giving photographers the artistic flexibility to plan ahead or edit after the fact, which will dramatically improve the quality of rapid picture-taking on the go.

Once happy with their photos, iPhone users resort to the built-in Apple Photos app to edit until their heart’s content. For those who really want to make their pictures look professional, third-party editing tools like Adobe Lightroom and Pixelmator Pro will help dramatically.
Whether looking to turn a foggy sky into a bright blue day or something similar, more advanced editing suites will grant much more creative control and allow photographers to fine-tune their pictures with granular detail. The must-have iPhone editing apps are especially helpful for larger files shot with the Apple ProRaw 48-megapixel feature on iPhone 14 Pro, as third-party editing apps can store much more space.
 Again")